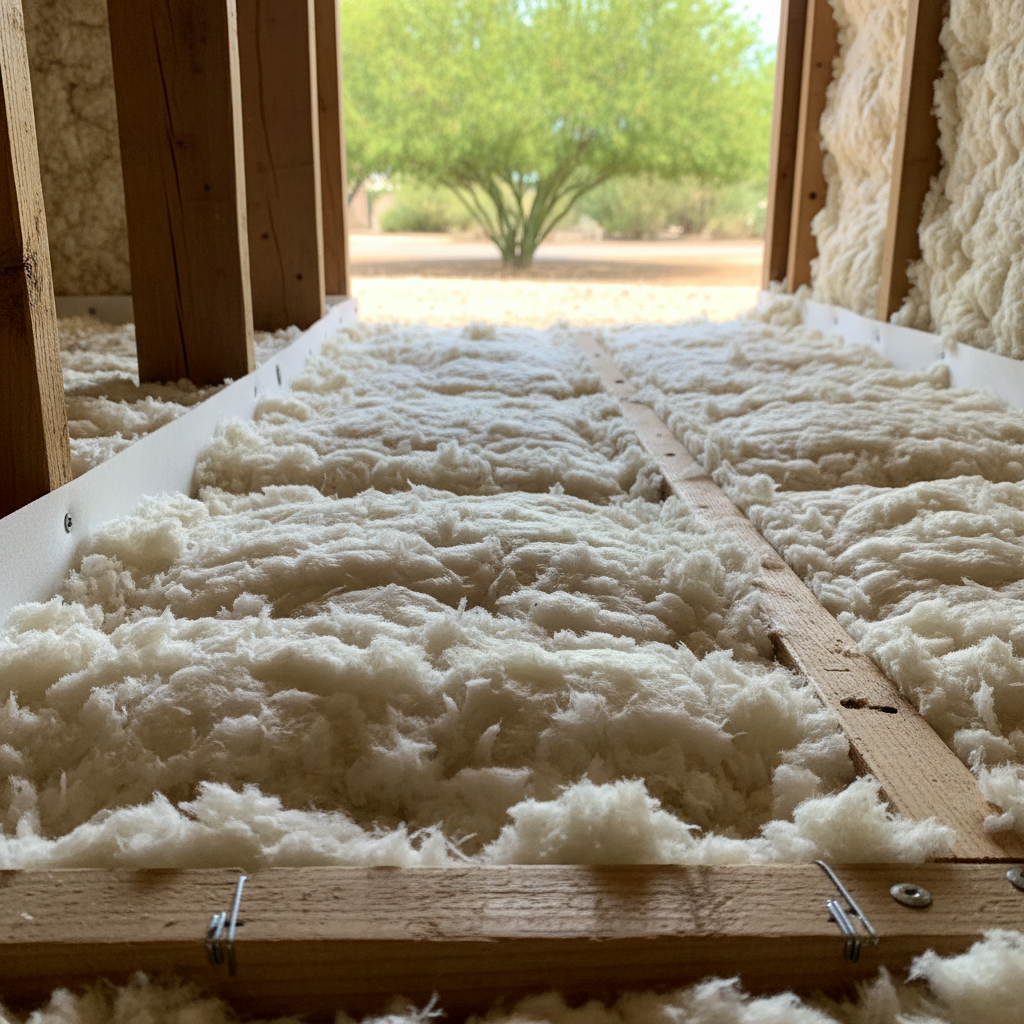
Alright, let's talk crawl spaces. If you've got one under your Chandler home, you know it's often out of sight, out of mind. But that's a big mistake, especially with our Arizona heat and those monsoon humidity spikes. An uninsulated or poorly insulated crawl space can absolutely wreck your home's energy efficiency, your comfort, and even your air quality.
You're probably wondering, "Can I just do this myself, or do I need to hire someone?" It's a fair question, and the answer isn't always black and white. Let's break down what you need to consider before you even think about crawling under there.
Before You Start: Assessment & Planning
First things first, you need to know what you're dealing with. Not all crawl spaces are created equal, you know. Some are bone dry and relatively clean; others are damp, dusty, and full of surprises. Grab a good flashlight, a mask, and maybe some old clothes, then take a look.
- Check for moisture: Is it damp? Do you see standing water? Any signs of mold or mildew? If so, you've got a bigger problem than just insulation. You'll need to address drainage, grading, or even consider a vapor barrier or full encapsulation before you even think about insulation. Putting insulation over a moisture problem is like putting a band-aid on a broken leg — it won't fix anything and could make things worse.
- Look for pests: Critters love crawl spaces. Rodents, insects, even snakes can make a home there. If you find signs of them, you'll need to seal entry points and likely call pest control before you start any insulation work. You certainly don't want to trap them in with your new insulation.
- Identify existing insulation: What's already there? Is it old, sagging fiberglass batt insulation? Is it wet or damaged? You might need to remove it first. This can be a nasty job, especially if it's been contaminated by moisture or pests.
- Measure and calculate: You'll need to figure out the square footage of your crawl space floor. If you're insulating the walls, you'll need the perimeter and height too. This helps you estimate material costs.
Now, about that DIY vs. pro decision. If your crawl space is relatively clean, dry, and easy to access, and you're just looking to add or replace some basic batt insulation between floor joists, it's something a handy homeowner *could* tackle. But if you have moisture issues, pest problems, limited access, or you're considering more advanced options like spray foam or full encapsulation, that's where you really need to call in the pros. Trying to DIY a complex crawl space issue can lead to bigger headaches and more money spent down the line, believe me.
During the Project: What to Do & What to Expect
Let's say you've decided to go the DIY route for a simple batt insulation job. Here's what you'll be doing:
- Safety first: Always wear a respirator, gloves, eye protection, and old clothes. Crawl spaces are dirty, dusty, and can have airborne particles you don't want to breathe in.
- Clear out debris: Remove any old insulation, trash, or anything else that shouldn't be there. Bag it up and get it out.
- Install a vapor barrier: If your crawl space floor is just dirt, you absolutely need a heavy-duty vapor barrier (usually 6-mil polyethylene sheeting) laid down to cover the entire ground. Overlap seams by at least 6-12 inches and seal them with tape. This is crucial for controlling moisture, especially in our desert climate where ground moisture can still be an issue.
- Insulate the floor joists: If you're insulating the subfloor, cut fiberglass or mineral wool batts to fit snugly between the joists. Make sure the facing (if it has one) is oriented correctly – typically facing the conditioned space above. Use insulation hangers or wire to keep the batts from falling out.
If you're going with a professional, especially for spray foam insulation or full encapsulation, the process will be different. For example, with spray foam, our team at Chandler Spray Foam Insulation will come in with specialized equipment. We'll prep the area, spray the insulation directly onto the crawl space walls and rim joists, creating an airtight, seamless barrier. This is a much more effective solution for energy efficiency and moisture control, but it's definitely not a DIY job. The equipment, the safety gear, and the expertise required are significant.
After the Project: Maintenance & Benefits
Once your crawl space is insulated, whether you did it yourself or hired a pro, you'll want to keep an eye on it. Periodically, maybe once a year, do a quick check:
- Look for damage: Are there any signs of new moisture, pests, or damaged insulation? Address them quickly.
- Check ventilation: If you have a vented crawl space, make sure the vents aren't blocked. If you have an encapsulated crawl space, ensure any dehumidifiers or ventilation systems are working correctly.
- Enjoy the benefits: You should notice a difference in your home's comfort. Your floors won't be as cold in the winter (not a huge issue here, but still), and your AC won't have to work as hard in the summer. You might also see a reduction in your energy bills and improved indoor air quality because you're preventing outside air and ground moisture from entering your living space.
Insulating your crawl space is a smart investment for any Chandler homeowner. It's not the most glamorous home improvement, but it makes a real difference in how your home feels and performs. Don't neglect that space under your feet!