Alright, so you're thinking about tackling that attic insulation project. Good call. It's one of the best investments you can make in your Chandler home, especially with our summers. But like any home improvement, it's not just about picking a material and hoping for the best, is it? You need a plan. Let's break down what that looks like.
Project Timeline: What to Expect
People often ask me, "How long does this whole thing take?" The truth is, it varies, but I can give you a general idea. From your first call to the final cleanup, you're usually looking at a few weeks, sometimes a bit longer depending on how busy good contractors are.
- Initial Contact & Consultation (1-3 days): You call us; we schedule a time to come out. We'll inspect your attic, talk about your goals – lower energy bills, better comfort, maybe even pest issues. Then we'll discuss options like spray foam, blown-in, or even a hybrid approach. This is where we figure out what your home truly needs.
- Proposal & Decision (3-7 days): We send you a detailed proposal. Don't rush this part. Read it, ask questions, compare it with others if you're getting multiple bids. Once you're ready, you sign the contract.
- Scheduling (1-2 weeks): Once the contract's signed, we get you on the schedule. Good contractors are usually booked out a bit, so factor that in. We'll confirm dates and make sure everything lines up.
- The Installation Day(s) (1-3 days): For most residential attics, the actual installation is usually a one-day job. Bigger or more complex attics, especially if there's old insulation removal involved, might stretch into two or even three days. We'll be clear about this upfront.
- Post-Installation (Immediate): We'll do a final walkthrough with you, answer any last questions, and make sure you're happy with the work.
So, from start to finish, you're probably looking at 2-4 weeks. Keep that in mind, especially if you're trying to get it done before the real heat hits.
What Happens During the Installation?
Okay, so the day comes. What's it actually like? Here's the rundown:
- Arrival & Setup: Our crew will show up on time. We'll introduce ourselves, confirm the plan, and start setting up. This involves laying down drop cloths to protect your floors and furniture, especially in the access areas. We'll bring in all our equipment – hoses, spray rigs, insulation bags, whatever's needed.
- Prep Work: If we're removing old insulation, that's the first big step. It's a dirty job, but we use powerful vacuums to suck it all out into bags outside your home. We'll also air seal any gaps and cracks we find in your attic floor – this is critical for performance, and it's something Chandler Spray Foam Insulation always includes. We'll baffle any soffit vents to ensure proper airflow, too.
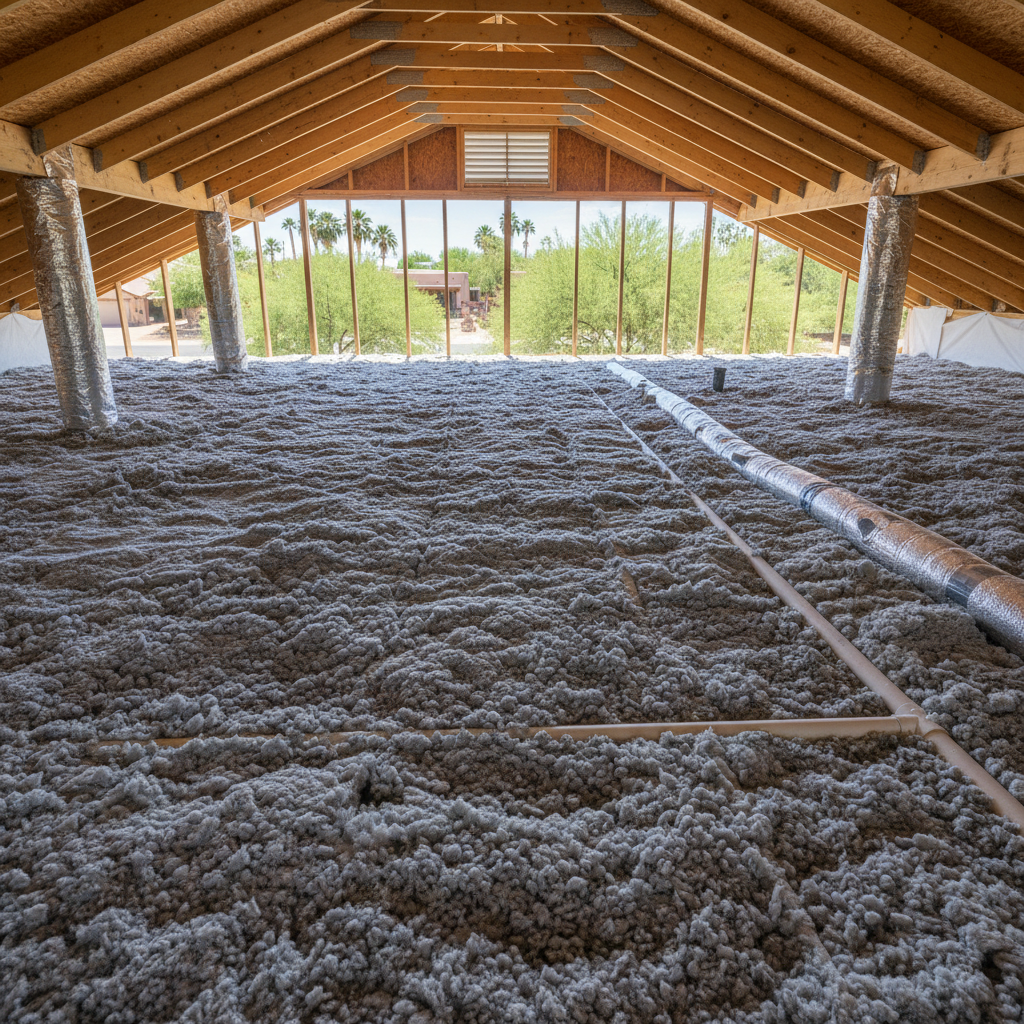
- The Insulation Process: This is where the magic happens. If it's spray foam, you'll hear the compressor running, and the crew will be up in the attic, applying the foam. It expands quickly and cures fast. For blown-in, it's a similar process with hoses blowing the material into place. We work carefully to get even coverage and the right R-value.
- Cleanup: Once the insulation is in, we clean up. We bag up any debris, sweep, vacuum, and make sure we leave your home as clean, or cleaner, than we found it.
It can be a bit noisy and dusty, especially during removal, but we do our best to minimize disruption. We'll keep you informed throughout the day.
How to Prepare Your Home
You can help make the process smoother. Here's what I recommend:
- Clear the Attic Access: Make sure the path to your attic hatch or door is clear. Move any furniture, boxes, or anything else that might be in the way.
- Remove Valuables: If you have anything stored in the attic that's valuable or sentimental, take it out. While we're careful, it's better safe than sorry. Dust and debris can happen.
- Protect Sensitive Items: Cover any furniture or electronics in the immediate vicinity of the attic access point. We'll lay down our own drop cloths, but an extra layer of protection never hurts.
- Plan for Pets: It can be a bit loud. If you have pets that are easily stressed by noise, consider making arrangements for them to be elsewhere for the day.
- Communicate: If you have any concerns or specific requests, tell us before we start. We're here to help.
It's not a huge list, but doing these few things makes a big difference for everyone.
Questions to Ask Before You Sign That Contract
This is huge. Don't just look at the price. Ask smart questions. Here are some I'd want answers to:
- What's the exact R-value you're proposing, and how do you get there? Don't just accept a number; understand how they plan to achieve it.
- Are you going to air seal my attic? This is non-negotiable for a truly effective insulation job. If they say no or it's an extra, be wary. Our older homes in Chandler, especially those built in the 70s and 80s with their original insulation, often have significant air leakage.
- What's included in the price? Is old insulation removal separate? Are baffles for soffit vents included? What about sealing around light fixtures and penetrations? Get it all in writing.
- What kind of warranty do you offer on the materials and the labor? A good company stands behind its work.
- How long have you been in business in Chandler? Experience matters, especially with local climate challenges.
- Can you provide references from other homeowners in the Chandler area? Always good to hear from folks who've already worked with them.
- What's your cleanup process? You want to know they're not going to leave a mess.
- What permits, if any, are required, and who handles them? Most insulation jobs don't need permits, but it's good to confirm.
Asking these questions helps you compare apples to apples and ensures you're getting a quality job, not just the cheapest bid. Your attic insulation is a long-term investment. Make sure you're investing wisely.